Sunday, November 29, 2020

Paper Poinsettia Magnet + Giveaway


How about a quick craft for a small gift this year? I end up making several small paper crafts as easy neighbor gifts each year. And the list of neighbors magically grows each year. I'm out to make 100 of these. A little crazy? Possibly.

This crafty post is supported by Tombow USA. I did receive Tombow's ABT Pro alcohol markers as compensation for this post. All opinions are mine and links to other products in this post are a courtesy for your benefit. Scroll to the bottom for the entry form for Tombow's giveaway. It will run from Nov 30, 2020 to Dec 04, 2020.


Let's get to supplies!

You will need:

Tombow ABT Pro alcohol markers, Basic Pallet and Red Tones

Poinsettia paper die set (I used Lawn Fawn Stitched Poinsettia


Colored Cardstock, at least 80 lb or higher

Paper Die Cut Machine

Pointy Tool (a paper pick to get the paper out of the dies)

Ball stylus tools 

Foam craft mat  


Tombow Mono Multi Liquid Glue 

Small flat backed jewels  about 5 mm in diameter

Flat magnets about 15 mm in diameter

E6000 Glue 

Grab your chosen colors of cardstock. I chose a bright yellow for the center of the flower, dark green for the leaves, deep red for the large and small petals, and a medium pink for the medium petals. The color code of the markers I chose were P837 (red), P743 (pink), P127 (green) and P025 (yellow). I picked colors that are darker than the paper color to add contrast.

Cut out all your poinsettia pieces using your die cutting machine. They look pretty flat and boring right now, but we'll fix that.

Using the Tombow markers add some lines and color dimension to your cutouts. I colored the centers and the stems of the yellow pieces with the P025 marker, leaving the ball tips the paper color. Follow the stitched lines of the leaves with the P127 green marker to deepen them. With the P837 and P743 red and pink markers, follow the center lines on the petals and lightly flick the tip of the marker to add some more lines to the sides. This will show the natural ripples in the petals of the poinsettia. Color these over a scrap piece of paper in order to avoid getting ink on your work surface.

Time to form those flower pieces. Using your ball stylus and foam mat, gently form the flower center by rubbing the stylus in the centers of the yellow pieces until the stems pop up.


Form the backs of the leaves by rubbing a larger stylus on the back until the edges curl up a little.


Flip the leaves over and slightly crease the center line.


On the backs of the flower petals, repeat with the stylus tool and gently rub until the edges and points of the petals curl up.


Flip them over and slightly crease each petal on the center lines and then rub the stylus tool in the center of the cutout to pop up the petals in a cup shape.


Time to start assembling the flower. Use a small dot of liquid glue in the center of the large petals and place the medium petals on top so that the petals are positioned in between the spaces of the layer beneath.


Repeat this process to glue on the small petals and then the yellow flower pieces. Add your flat backed gem to the center of the poinsettia.


Use two or three spots of glue, stick the leaves to the back a little away from the center so that they show from the front. Don't squish your flower.


Glue the magnet to the back with E6000 adhesive. And let it cure overnight. This is the best stuff for a magnet surface and can withstand some slight pulling when it's moved around.


Your pretty flower magnet is finished. The Tombow glue will dry clear and will give you a fairly sturdy flower, but still use care when removing it from magnetic surfaces. The addition of the marker lines add so much dimension to what a flat paper color would be. Put them in a clear treat bag with a gift tag and hand them out to your friends for Christmas this year.

Enter below for the Tombow prize giveaway! Checkout the other blogs participating in this giveaway, Doodlecraft and Artsy Fartsy Mama


a Rafflecopter giveaway

Saturday, January 4, 2020

Under the Sea Movie Party


Twenty something years ago my mom and I started a New Year's Eve tradition of watching a movie marathon up until midnight to ring in the new year. I think the first run of movies was a bunch of old black and white monster movies that were playing on cable TV. We would make a buffet of all the snacks and treats we would ever want to eat, and park ourselves on the couch with our feet up watching movies.

Down the line I got married, my mom remarried and we instructed our husbands how we camp out in front of the screen in comfort. There is a theme chosen each year and we select movies from our vast collection to fit the theme. Somehow I ended up adding a few decorations and got more elaborate. Extended family was interested in coming and we had to change locations to my in-laws house. They have more space, no pets and a projector.

This time for the end of 2019 we chose an Under the Sea theme of films. The average attention span for hardcore movie marathon buffs in our family is about 5 movies. We start between noon and 1:00PM and time the movies to end about midnight.

The selection we chose:

20,000 Leagues Under the Sea (1954 Disney)

Operation Petticoat (1959)

The Little Mermaid (1989 Disney)

Treasure Island (1950 Disney)

Aquaman (2018)

We make sure there is at least one movie that the littlest kids can watch. No one is required to stay the whole time, they can come and go as they please. We let the family know the general time schedule when certain movies will start, and lunch and dinner times.

The general consensus from the family is that they really enjoyed the entire room decorated floor to ceiling this year. I'll list sources for decoration ideas from other sites from what you'll see in the pictures.


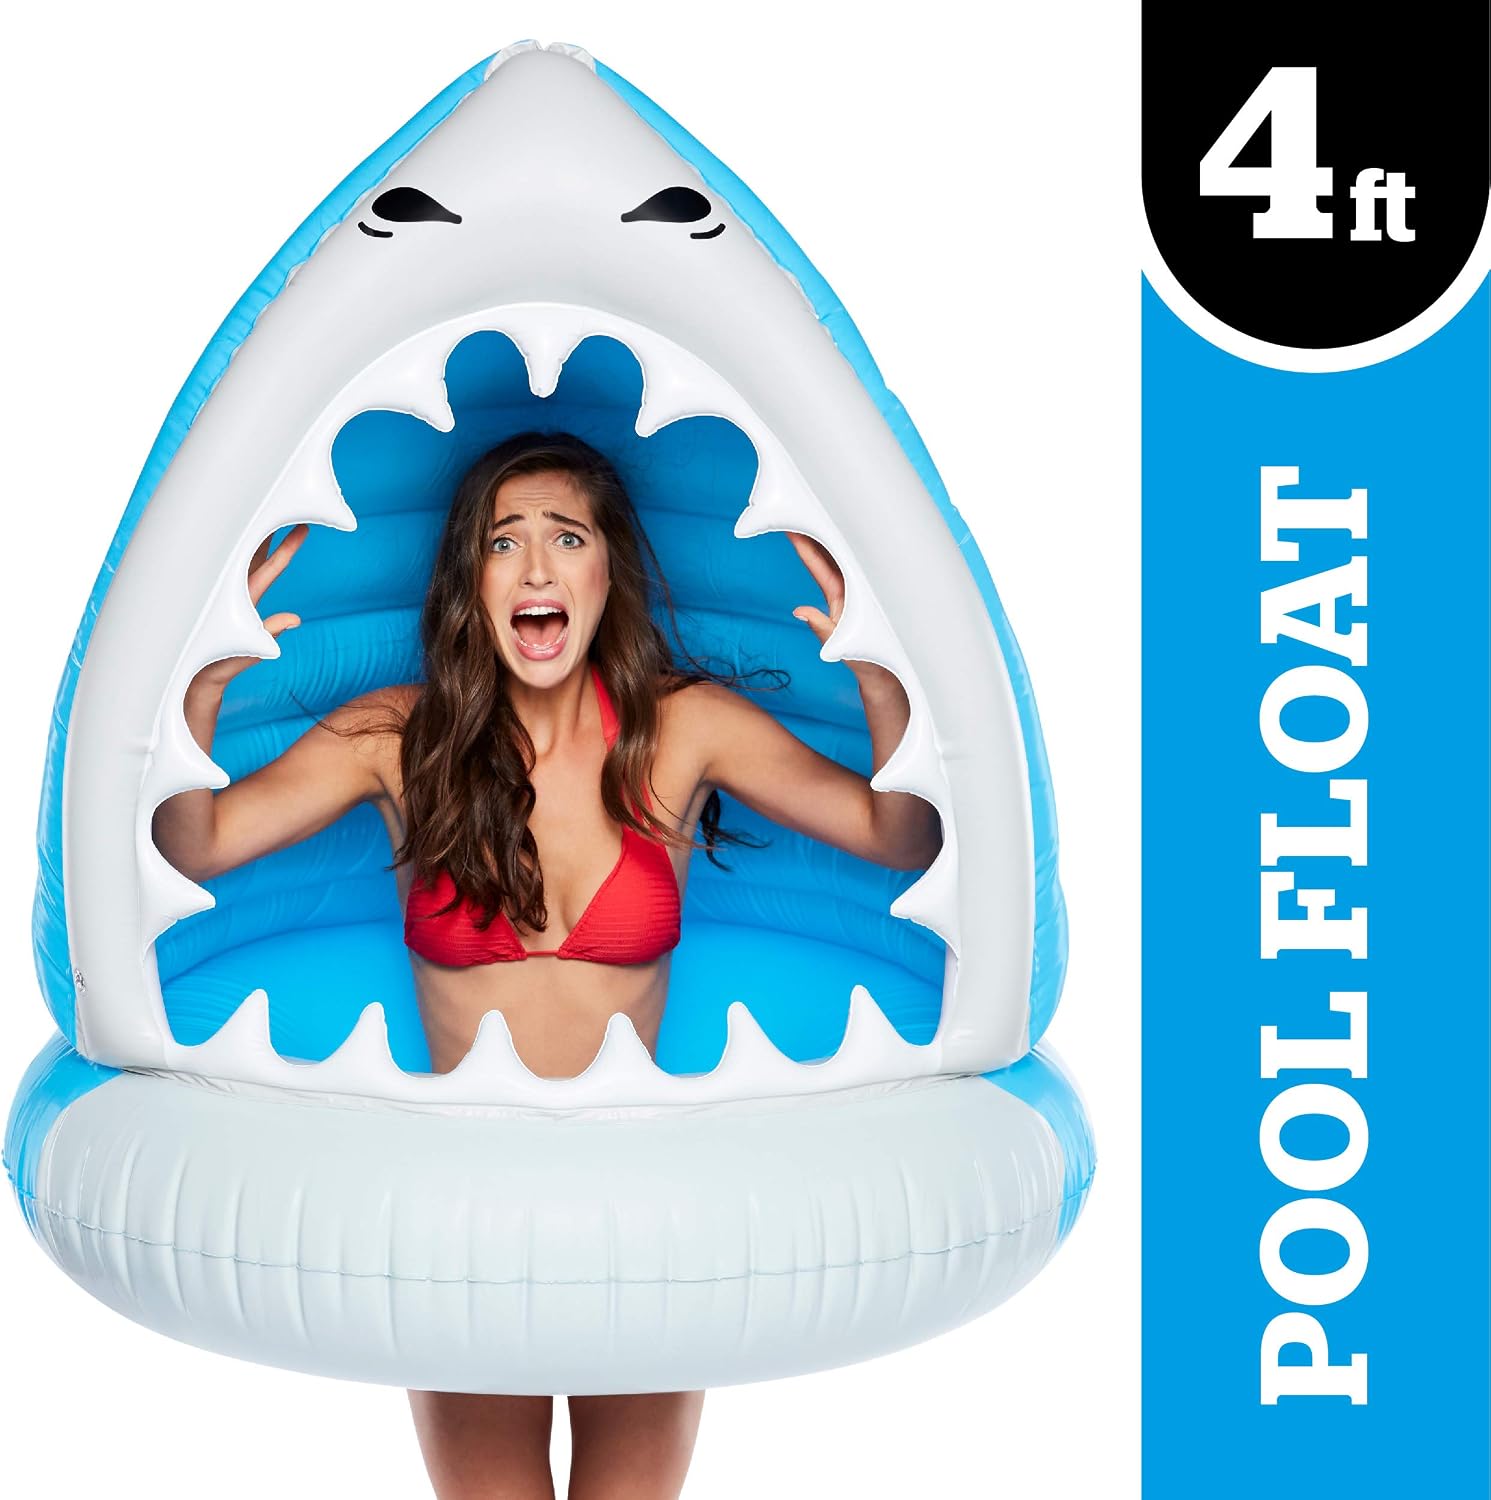
Favorite toy of the kids to play in...the giant shark head inner tube.

 Big Mouth Pool Float


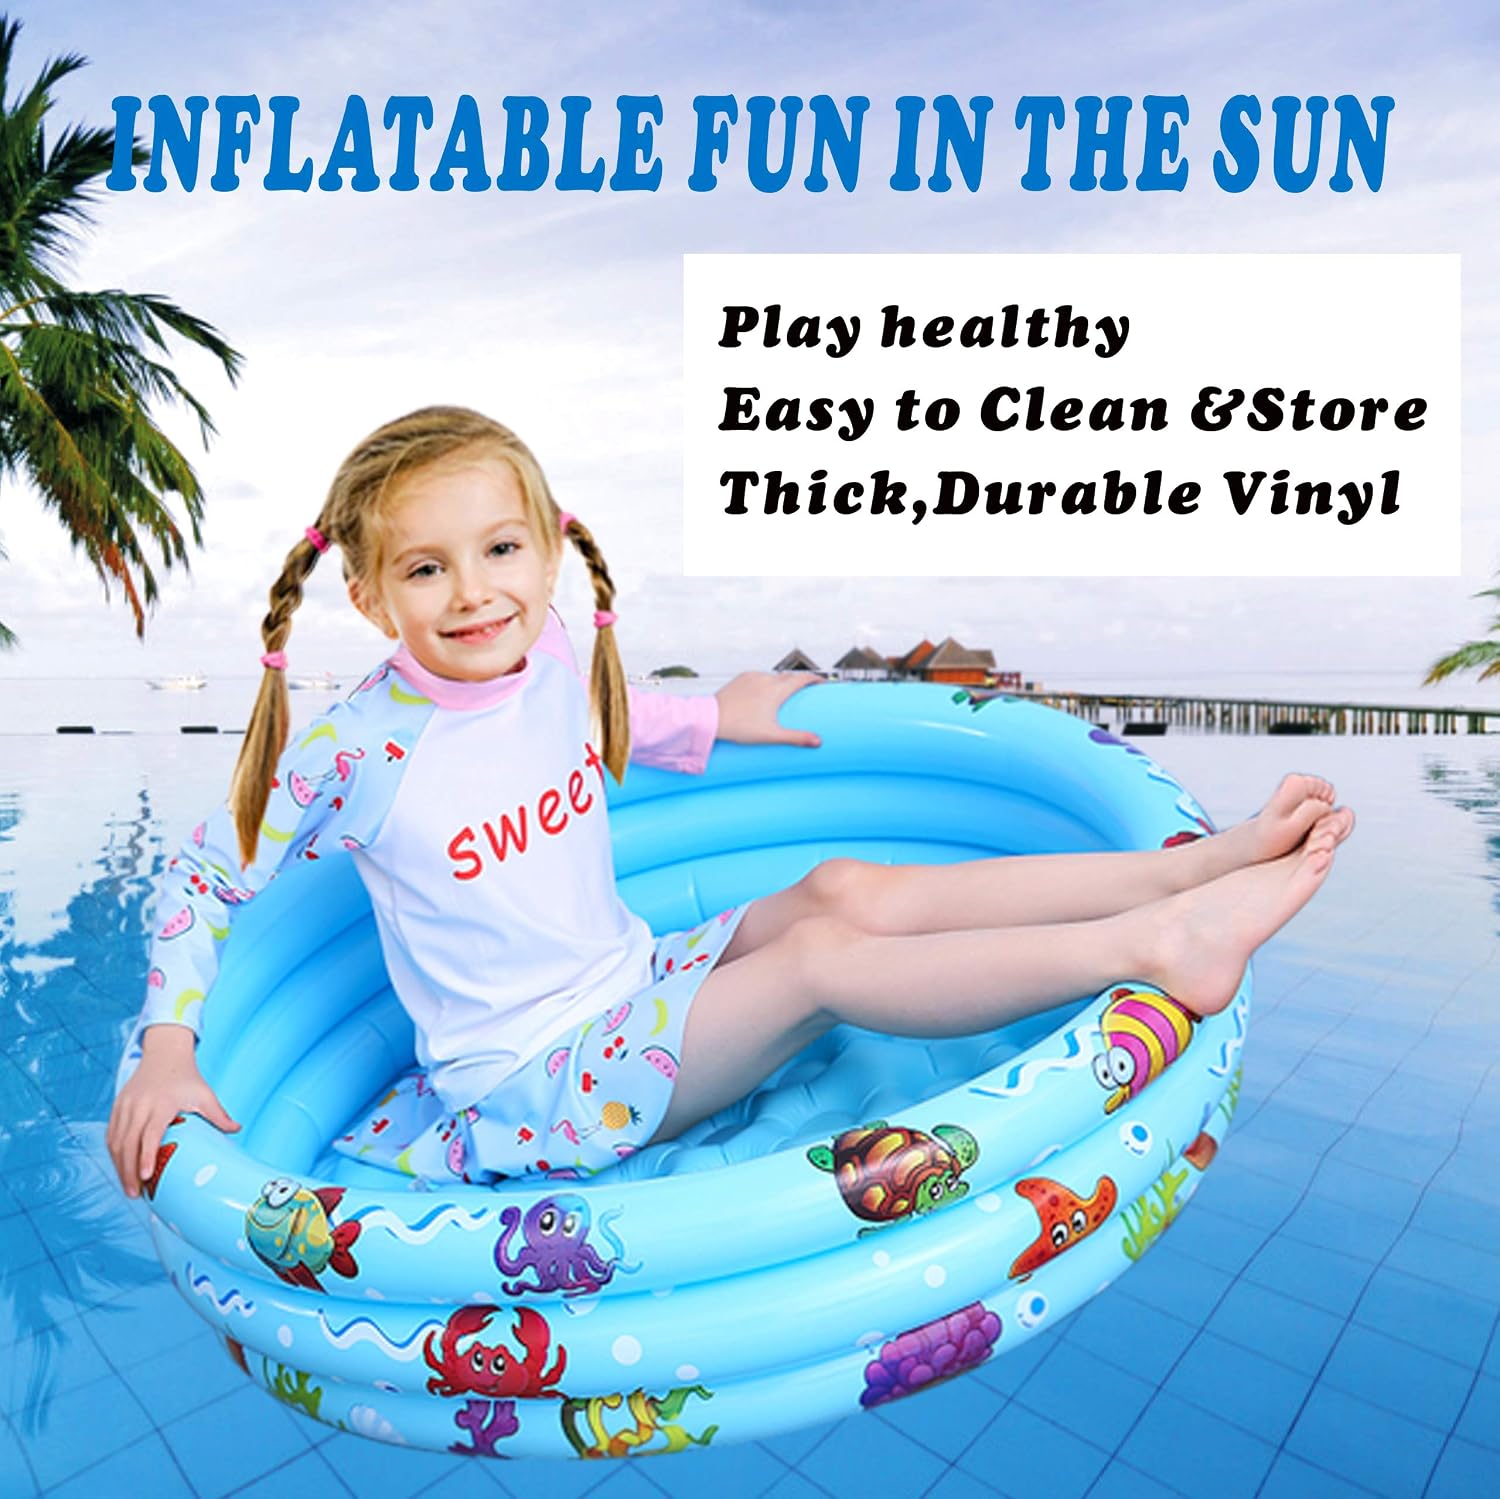
Baby pool filled with ball pit balls and a set of sea life bath toys mixed in (a fun set with a small net). Balls were everywhere, and the kids figured out what to do with the net. Keep it contained in a corner if you can.


 Baby Inflatable Pool

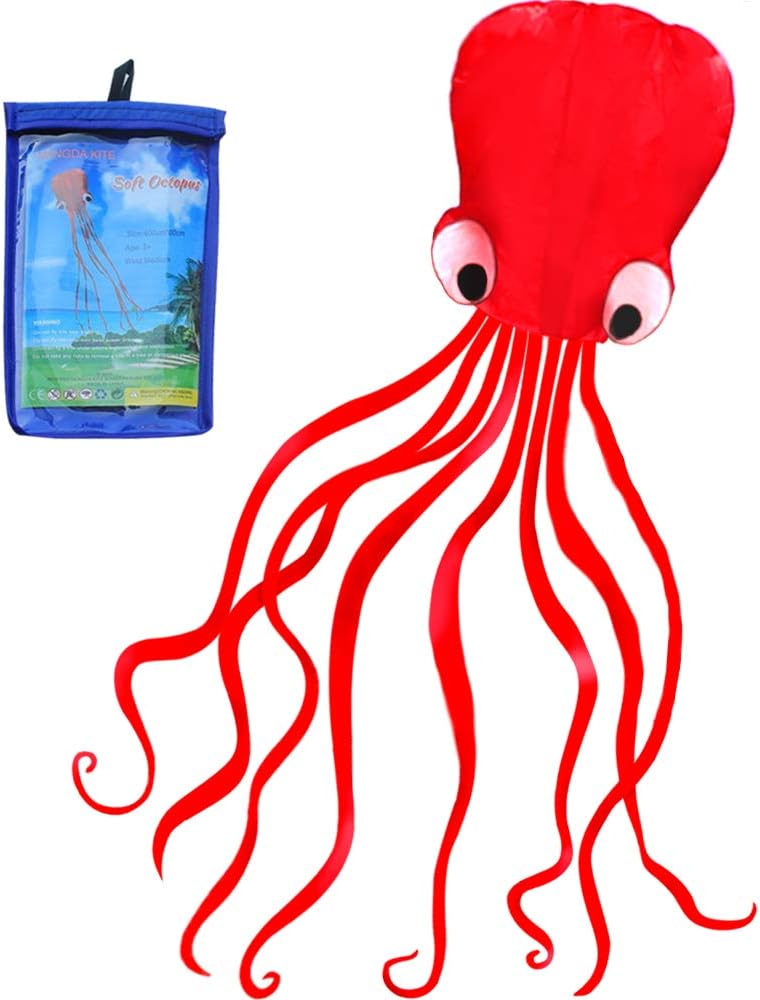
The giant octopus kite was a great highlight in the corner of the room and helped disguise some of the objects in the corner.


 Octopus Kite


Making the coral reef boxes was lots of fun. Collect the pool noodles in the summer when they're cheap. Walmart had the narrow ones for $0.99 and the price went up from there for the bigger ones. The best source for making most of the pool noodle coral was from this site, My Humble Home and Garden, and TeeDiddlyDee

I used cardboard boxes and brown packing paper to make the base. Invert an open box, cut off or tape the outer flaps, then tape the loose flaps from the inside of the box to the sides of the box so it will be easier to cut through the base.  Make sure to reinforce the inside with extra tape. Cut a piece of paper big enough to cover the box, and crumple it up to make wrinkles and creases on purpose. Cover the box loosely to make your base. Use a sturdy knife to stab holes straight through the paper and box to wedge your coral ends in the top.

Hot glue anything and everything that looks like coral or sea life to your base. In real life coral is very colorful. If it's white, then it died. Use dyed coffee filters folded and glued in multiple places. Spiky gift bows that look like sea anemones. Fun tubes that look like sea tubes. Open weave mesh fabric hot glued to skewers to look like fan coral. Cut up egg cartons for barnacles. And, small fish toys hiding in the middle.


 Fun Tubes


The hanging seaweed from the ceiling is made from plastic table cloths covers. Get the pre-cut long table size, it will be the easiest to cut. The clearest instruction on how to cut them are from this site. Borrowed Blessings. There is an up and down on how you hang them. I used several strips of masking tape to hang them from the ceiling. I didn't want to damage paint. We decorated the room the day before and had to re-tape a couple of them that fell overnight. The strings of paper bubbles were from Hobby Lobby in the party section.


I purchased lots of plastic fill-able ball ornaments from AliExpress. Most items are inexpensive and shipped from China on this site. Give yourself at least a month for your orders to arrive, it will take time to get to you. Then I cut a piece of iridescent cellophane/tissue paper to put inside the balls. String several lengths of fishing line from the balls and hang those from the ceiling. Again, more masking tape. Now you have lots of shiny bubbles. Some of these fell off during the night. If you want, use extra tape or Command Hooks. 


Around Christmastime Hobby Lobby has hundreds of ornaments. I found several blown glass fish ornaments when they were 50% off. Definitely use Command Hooks if you're hanging these from the ceiling.

The least expensive decoration is the trash bag jelly fish. If you can find clear trash bags at your store, great! I ordered from AliExpress again for these. This is the site for instructions on how to make them. Little Stars Learning. My husband was lazy and didn't want to do the long squiggly tendrils, so he just did shorter straight cuts.


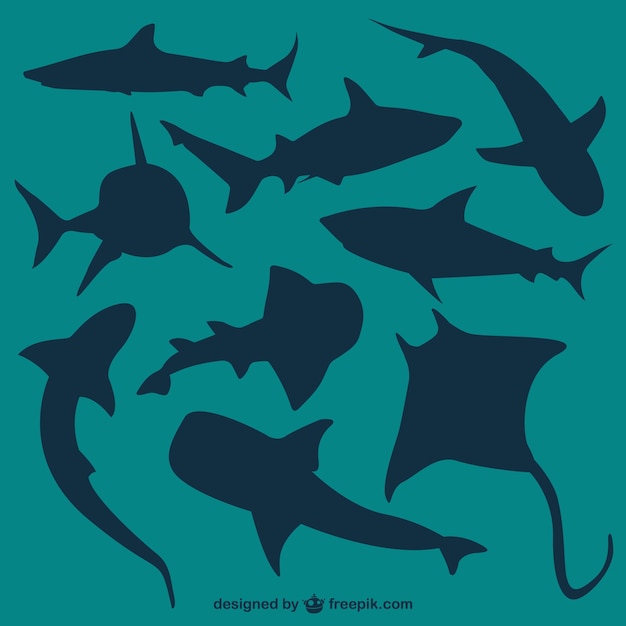
The star of the evening was the sea life silhouettes under the ceiling lights. The parents convinced us to leave them on the ceiling so the other grand-kids could see them after the party. You'll need the roll of blue tablecloth plastic. Hobby Lobby has the 100 foot rolls in various colors. Cut your length to cover your lights and a little extra to swag like waves. We used Command Hooks to hold it to the ceiling. Three hooks on the ends and two in the middle. To make the hook points sturdy, put some masking tape on the edge of the plastic where you want your hook and use a hole punch through the tape and plastic. The tape will reinforce the hole and the hook won't tear through it. You'll need at least two people to hang it straight.


To make the the silhouettes, I used some free .jpg images and went through Block Posters to make the pictures bigger. The use is free, and you can print them on your own home printer. I suggest laser printers, it will use a lot of toner, because it prints on several pieces of paper. You just tape them together and cut them out.


Remember, you need to use silhouettes of the top or bottom of the sea creature, though an oncoming shark could work too. Side pictures will look like the fish is sleeping.


I also found a few plush sharks and fish that were on sale during the holidays, and bought some sea life print fleece to make blankets. The kids could pick a toy or blanket to take home as a party favor. Yes, that is a mattress on the floor. Sometimes the floor was the only space to lay down and still watch the movie. We like comfort.


This was our New Year's party to the extreme. We served smoked salmon, fish shaped snacks, crab dip, shrimp cocktail and fish and chips for dinner. Serve what you like at your movie party, it's all about comfort food.

*All opinions are mine. Links to products and other sites are for your convenience. I am not compensated for their promotion.

Monday, December 9, 2019

Tissue Paper Snowflake Windows + $100 Michael's Holiday Giveaway


I like looking at pictures of real snowflakes, and I am amazed at such tiny detail that makes up each section. These paper snowflakes are probably smaller than you're used to cutting out, but they're simple to construct with minimal supplies.

You could enter to win a $100 Michael's Gift Card at the end of this post, and if you win, you can use that money to get all your supplies. #Giveaway #Win #EnterToWin

(As usual I'm not being compensated to promote any particular product or store. Links are there for your shopping convenience. All opinions and photos are mine.)


Supplies Needed:

Multiple Colors of tissue paper (I got mine at Dollar Tree)

Card stock

Glue stick

Pencil w/eraser

Small fine-tipped scissors (mine are from Scrapbooking Made Simple)

Circle dies or circle cutter (4 1/4" and 3 3/8")

Optional: hole punch and twine for an ornament


Start by cutting two circle frames from the card stock. Use whatever die cut machine you have or a circle cutter. Then cut three colors of tissue paper with the bigger circle die. Use a light color, medium color and dark color for best results.


Fold a tissue paper circle in half.


Then fold it in half again, making the edges really straight.


Here is the tricky part... you need to fold it in thirds to make a wedge. Fold the 'two edges' side first. Check the inside to make sure you didn't put a crease where you don't want it. It all has to be even.


Fold the other colors too.


Using the inside edge of your circle frame, draw a line on your tissue paper wedge where the frame covers the outside edge. This part won't be seen, but will be used to glue to the frame.


Draw your main cut lines onto your colors; these will form the outside edge of the snowflake. I did the lines darker than I needed so it will show in the picture. The lightest color will have the smallest snowflake, the medium color snowflake will be bigger, and the dark color snowflake will be the biggest. Be careful to not cut into the frame guideline or overlap the cut lines. If you want each color to look like a 6 pointed snowflake, the snowflake point should be along the single folded side of the wedge, and the 'two edges' side should be shorter.

If you want, you can cut some intricate designs into the snowflake before you cut along the main cut line.


Make your cuts carefully with your tiny scissors. And gently erase your pencil lines. It's easier to erase them while the tissue paper is still folded. You don't want to rip the paper and ruin your work.


Unfold your snowflake frames and put them under a book to help press out the creases.


Save the snowflakes for a bonus project at the end.


Next you should glue the lightest color tissue paper to the frame in sections, putting glue on to about a quarter of the frame at a time. With each section, carefully line up the edge of the tissue paper to the edge of the frame. It should fit perfectly, but don't worry about tiny wrinkles in the edge, they won't show.


Use the same process on the medium colored tissue paper, and then the darker color. Make sure to line up the main snowflake points. If you have tissue paper curling up on the medium and dark layers, gently place some glue under it and tack it down. The glue will dry clear. Finish by gluing the other circle frame on top of the dark color.


You can punch a hole in the frame and run some twine through it to hang it on your tree or window. It looks best when fully lit in a bright window.

Here are some other designs and colors.


They look like stained glass on the tree.

Here's a bonus project you can make with all those miniature snowflakes that you cut out.


Glue a white tissue paper background to a larger frame, and put glue onto sections of the white tissue paper to glue down the snowflakes. Overlap them to create a snowflake collage.


What new colors can you make by overlapping different colors of tissue paper?


Holiday Giveaway


We are so excited that one lucky winner will receive a $100 Michael’s Gift Card - just in time for the holidays!
Brought to you by:

$100 Michael’s Gift Card Giveaway

Official Rules and Conditions: One winner will receive a $100 Michael’s Gift Card. Open to US residents 18+. One (1) winner will be chosen. Prize must be claimed within 48 hours of announcement or a new winner will be drawn. All entries will be verified. This giveaway is in no way associated with Michael’s, Facebook, Pinterest, Twitter, Instagram, Rafflecopter, or any other entity unless otherwise specified. Giveaway ends 12/23/2019. Enter using the widget below. The prize will be delivered electronically.
a Rafflecopter giveaway