
This beautiful, detailed, origami book is a culmination of hours of research, practice, design, and yes even math. I hope that I can save you hours of pain and frustration as you make this amazing and intricate Chinese Thread Book (Zhen Xian Bao).
This idea popped into my head after seeing a random project on Pinterest. It had such an impact on me that I had to click. I then spent hours looking at all sorts of origami boxes and thread books. It is a book of folded paper boxes that are glued and stacked on top of each other hiding the ones underneath. I was more interested in how the origami boxes fit and worked together than what it was used for.
The brief history of the Zhen Xian Bao originates in the southern provinces of China. The Dong and Miao people still use them to hold their threads, needles and patterns for intricate embroidery.
This picture is from Pamela on tribaltextiles.info
 |
| Miao women sewing--zhen xian bao in her lap |
It was impossible to find an existing project that had the type of folded boxes I wanted, and the size I wanted for the finished project in one place. So I had to piece instructions together from multiple sources. So instead of me writing everything, I will post links to the sites I used to help me fold and construct the individual parts of the book.
Supplies I used:
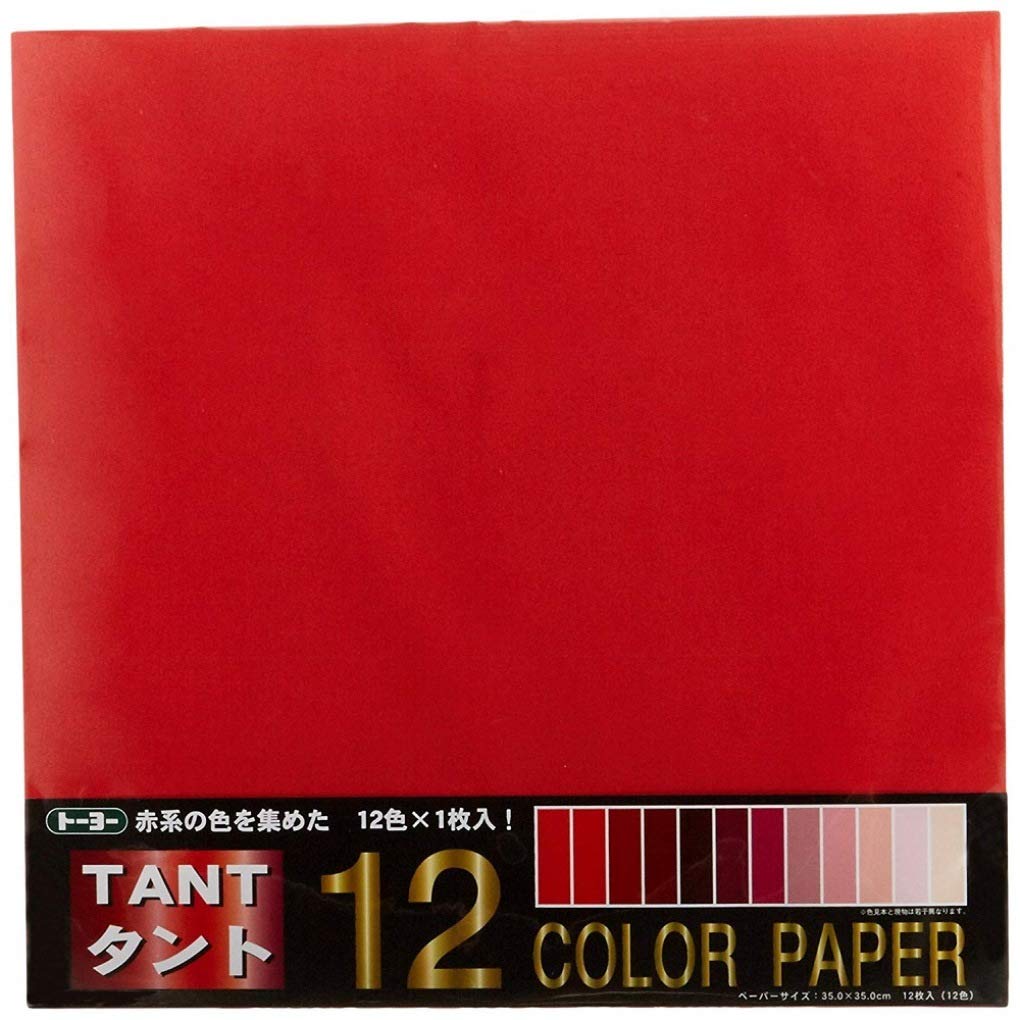
Toyo Tant 12 Color Jumbo Origami Paper 13.5" square --2 packages
Wrapping Paper
Bone Folder
Rotary Paper Trimmer
Rotary hand held trimmer just for paper
Straight edge quilting ruler
Cutting Mat
Scissors
Ruler with centimeters on it
Pencil

Glue Stick
Cotton Fabric

White tissue paper
Iron and Ironing Board
Craft knife
Flat ribbon
Charm or pendant and extra jump ring
Needle and thread
I had an idea of the rough sizes of boxes I wanted my finished book to have, but had to do a bit of math to calculate the measurements and was happy that I didn't end up with irrational numbers. I decided that working in metric centimeters would be the easiest way to measure, cut and fold all of the boxes so they fit together. The larger boxes fit nicely on the jumbo origami paper, except the big box on the bottom. Wrapping paper was the easiest large paper I could locate. So use a sturdy paper like Hallmark and avoid the thin cheap dollar store wrapping papers.
In my design there are two types of small square boxes on the top layer. The flower top box (dark red) and the pinwheel twist box (pink). Both are a finished size of 5 cm by 5 cm.
The flower top box cut dimensions are 10 cm by 20 cm. If you want a different size, the formula is (finished size * 2) by 2*(finished size*2). Make 8 of these.

The source and video I used to fold this box are from OrigiamiTutorials.com
This is also the video I used for the small long box and the square box.
The pinwheel twist fold box cut dimensions are 25 cm by 10 cm. If you want a different size, the formula is (finished size*5) by (finished size*5)/ 2.5. Make 8 of these.

The source I used for the twist box is from PaperKawaii.com Her method makes two boxes at once, helping to ensure they line up, but I made each of mine separately based on my single box dimensions.
I used a different source for the pinwheel fold at the top, but the only source I could find was a picture of a book with instructions in it.
This is from Bookzoompa.files.wordpress.com

Follow the instructions on picture 4 and 5 for the folded box, cutting 2 cm in for each of the cuts. If combining these two designs is too difficult you can just use the approach above by PaperKawaii.com
The small long box is a finished dimension of 5 cm by 10 cm, so two small boxes will fit on the top. The cut size is 10 cm by 20 cm. It is the same size cut paper as the flower top box. Watch the video for the flower top box above on how to fold it. Make 8 of these.

The square box has finished dimensions of 10 cm by 10 cm, so two small long boxes will fit on it. The cut paper size is 20 cm by 20 cm. If you want a different size (finished size*2) by (finished size*2). Watch the same video as the flower top box on how to fold this one. Make 4 of these.

The large long boxes open slightly differently. Their finished dimensions are 10 cm by 20 cm. The cut size is 30 cm by 30 cm. If you want a different size the formula is (finished short side*3) by (finished short side*3). The two boxes are stacked on top of each other and will fit two of the square boxes on top. Make 4 of these.


The source I used to fold these boxes are from Bookzoompa.wordpress.com She uses different measuring sizes for her box in the video.
The last layer is the big box on the bottom where I had to use wrapping paper. The jumbo origami paper wasn't big enough. The finished size of the big box will be 20 cm tall by 20 cm + 2.5cm wide, approximately. The cut size I used is 30 cm by 42.5cm. The formula is a little different because you're using your other smaller boxes as measurements for the big box. (4 of the long boxes wide plus 2.5cm for the spine of the book) by (3 of the square boxes tall). Only make 1 of these.

I used Bookzoomba's video on how to fold the large box as well.
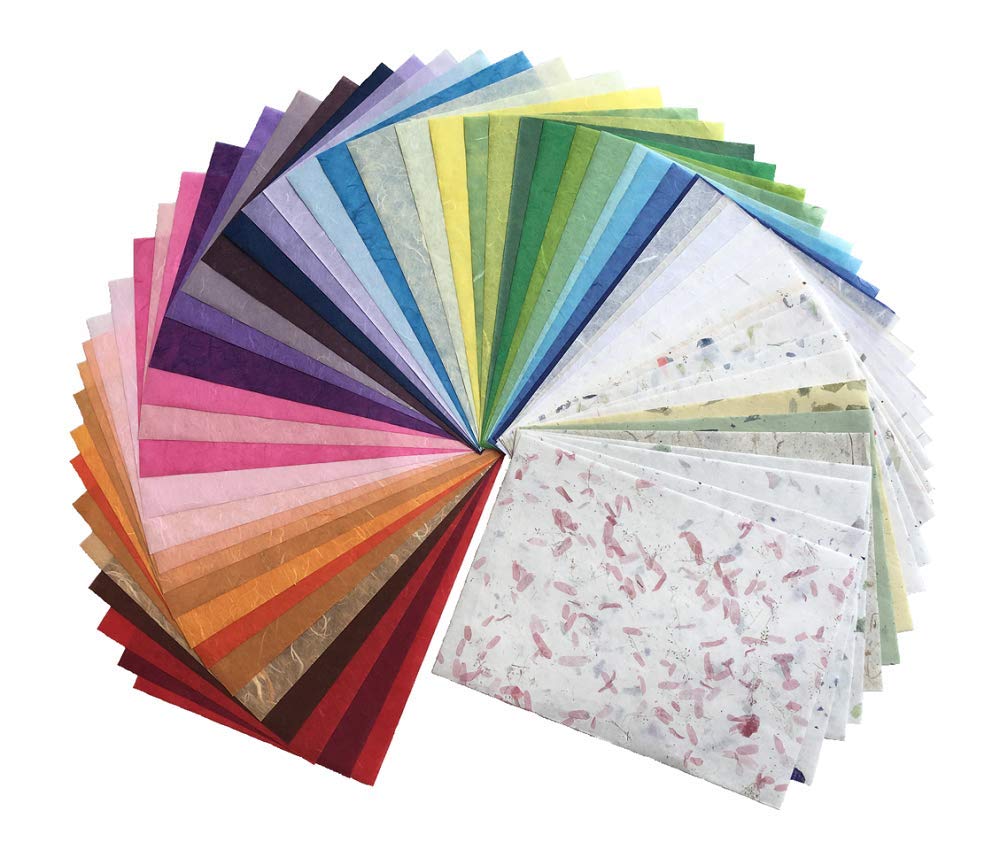
Next, I added mulberry paper as a liner inside the boxes to give a color contrast and to cover the back of the wrapping paper (unless you like looking at grid lines). I just trimmed them a little smaller than the finished sizes and used a glue stick to glue them to the inside.
You can now start taping your boxes together. Carefully lay them out in the pattern and orientation you want them to open. You can stick on all the tape, being careful to not peel the backing until you are ready to stick them all together. Do not flip or rotate your pieces as you peel the backing off and stick them into their final positions. Do them one at a time or you might make a mistake, and the tape I use is not forgiving on that paper. With the small long box and the square box, the video recommended tucking the flaps into the sides of the boxes above them; I just taped the flap to the bottom of the box on top. This way the boxes will stay put and open easier.
On all but the largest box I used the center line of the box underneath as a guide to line up the edge of the boxes on top. If you weren't precise enough in cutting and folding, the box might extend over the lower layers of boxes. Using the center line minimizes that problem. The whole thing should fold in half with room for each layer. You may need to tuck in corners and flaps while closing it so they don't get crunched. On the long boxes you need to line it up with the edges of the big box, leaving a gap in the middle to be the spine of the book.
To make the cover, I made fabric book paper, the easy way.
Cut piece of fabric 35.6 cm long by 26.1 cm wide
Cut HeatnBond 30.5 cm long by 21 cm tall
Tissue paper large enough to cover fabric.
I used this video from Sea Lemon as a guide. I centered the cut HeatnBond on my fabric, leaving an even border of plain fabric around it. Then I trimmed the ironed on tissue paper right up to the HeatnBond.
Fold in and glue/tape the edges of your fabric over the edge of the tissue paper and HeatnBond anyway you like. Remember, the HeatnBond is the finished size for your cover, so don't fold the edges of the fabric past it.
Pick a side you want your ribbon to come out of as the book tie.

Then cut a centered slot, about a centimeter from the edge that is the width of your ribbon. I used a full yard of ribbon for my book (36"). Thread your ribbon through the slot and tape it to the inside cover, extending nearly to the other edge. It's extra sturdy this way and won't slip out with use. Then I cut a piece of scrapbook paper sized 29.5 cm by 20 cm (I should have used the mulberry paper) and glued it centered on the inside cover over the ribbon and the folded edges of the fabric as a pretty end paper. Add your charm and stitch the end of the ribbon closed through the jump ring. That particular charm is an hourglass from Tim Holtz Assemblage.

Now you can glue/tape the entire folded box assembly to the edge of your end paper opposite the ribbon. I found it best to peel the backing off the the tape in stages. I started at the edge and took the backing off the tape of one side and carefully placed it on. I did the spine separately, pressing from the outside cover onto the spine. Then finish the other half, leaving the book flap with your pretty end paper showing. If you glued everything on straight, admire your handiwork and test out the cover and tie.

Now you get to decide what to put in it, I put in some of my test origami boxes and patterns. This particular book is a gift for a family member, so I might make another one for me.
*All links to other sources are their rightful owners' property and noted as such in this post. I am not compensated for promoting product in this post, but it's there for your convenience. All other content and opinions are mine.


