
How about a quick craft for a small gift this year? I end up making several small paper crafts as easy neighbor gifts each year. And the list of neighbors magically grows each year. I'm out to make 100 of these. A little crazy? Possibly.
This crafty post is supported by Tombow USA. I did receive Tombow's ABT Pro alcohol markers as compensation for this post. All opinions are mine and links to other products in this post are a courtesy for your benefit. Scroll to the bottom for the entry form for Tombow's giveaway. It will run from Nov 30, 2020 to Dec 04, 2020.

Let's get to supplies!
You will need:
Tombow ABT Pro alcohol markers, Basic Pallet and Red Tones
Poinsettia paper die set (I used Lawn Fawn Stitched Poinsettia)

Colored Cardstock, at least 80 lb or higher
Paper Die Cut Machine
Pointy Tool (a paper pick to get the paper out of the dies)

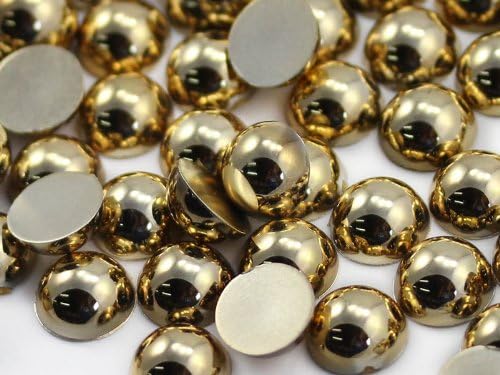
Small flat backed jewels about 5 mm in diameter
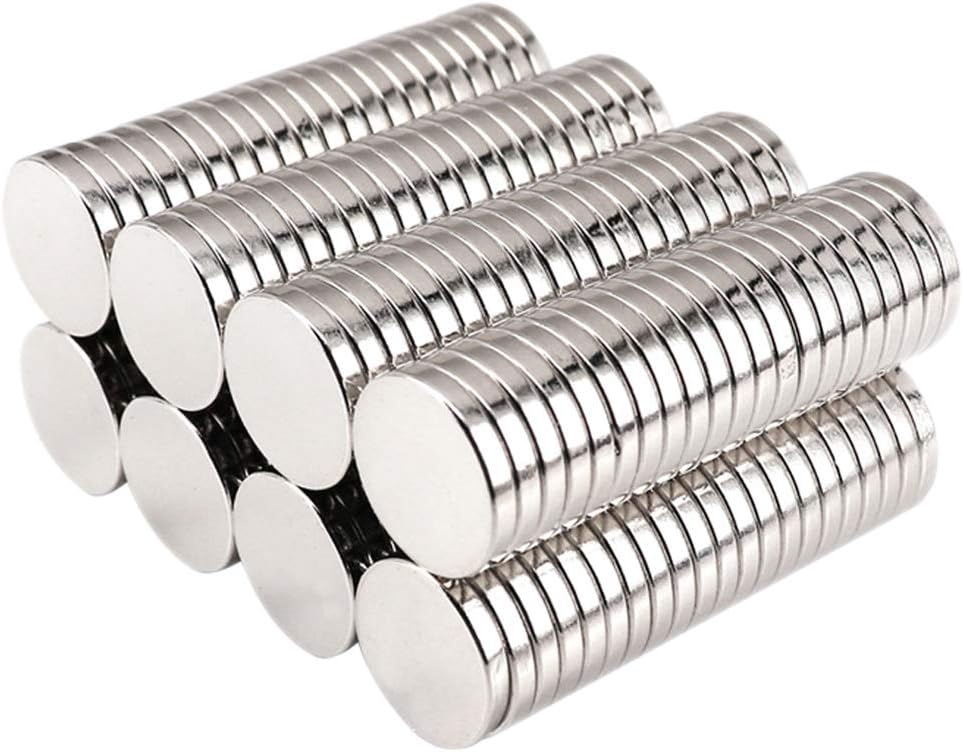
Flat magnets about 15 mm in diameter

Grab your chosen colors of cardstock. I chose a bright yellow for the center of the flower, dark green for the leaves, deep red for the large and small petals, and a medium pink for the medium petals. The color code of the markers I chose were P837 (red), P743 (pink), P127 (green) and P025 (yellow). I picked colors that are darker than the paper color to add contrast.

Cut out all your poinsettia pieces using your die cutting machine. They look pretty flat and boring right now, but we'll fix that.

Using the Tombow markers add some lines and color dimension to your cutouts. I colored the centers and the stems of the yellow pieces with the P025 marker, leaving the ball tips the paper color. Follow the stitched lines of the leaves with the P127 green marker to deepen them. With the P837 and P743 red and pink markers, follow the center lines on the petals and lightly flick the tip of the marker to add some more lines to the sides. This will show the natural ripples in the petals of the poinsettia. Color these over a scrap piece of paper in order to avoid getting ink on your work surface.

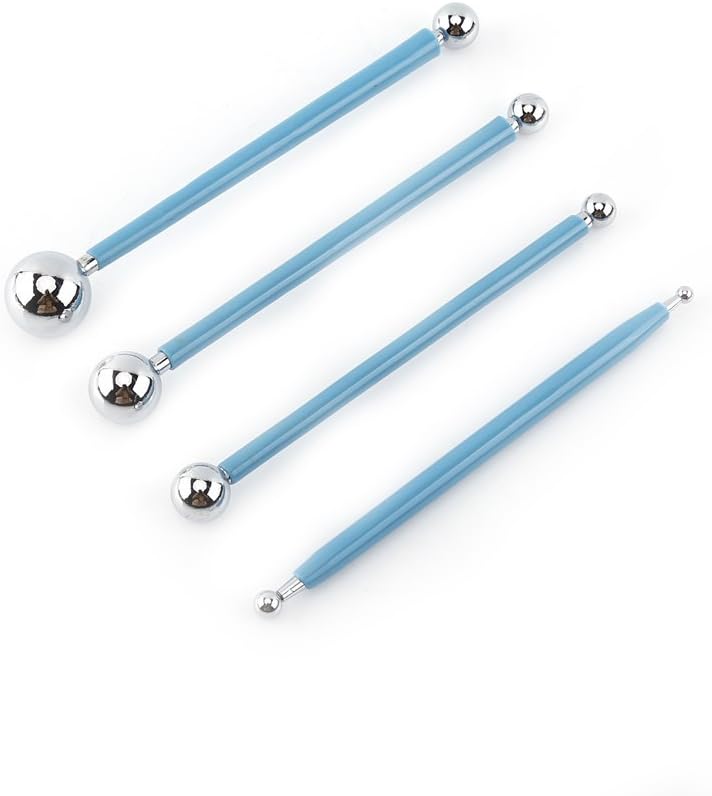
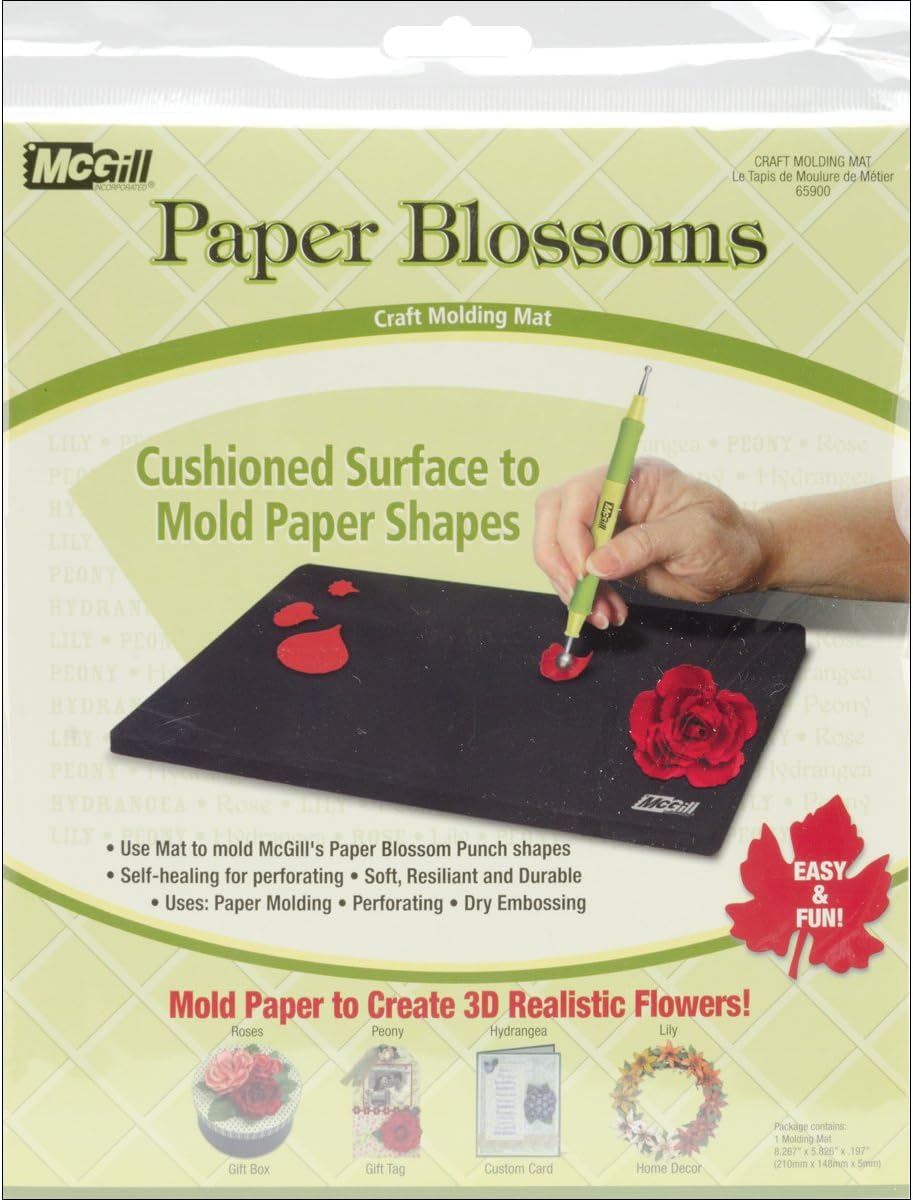
Time to form those flower pieces. Using your ball stylus and foam mat, gently form the flower center by rubbing the stylus in the centers of the yellow pieces until the stems pop up.


